
podcast AI & ML
Generative AI in the Real World: Understanding A2A with Heiko Hotz and Sokratis Kartakis

article AI & ML
We Are Only Beginning to Understand How to Use AI
Lessons from Google Docs and Other Internet Innovations

article AI & ML
From Automation to Insight
Using AI to Keep Up with Our Authors

video
Build Your KPIs Around the Golden Rule—Arvind Narayanan Live with Tim O'Reilly

article
Why AI-Driven Client Apps Don’t Understand Your API

article
Is AI a “Normal Technology”?
video
The Skill Kids Need to Learn in the Age of AI—Arvind Narayanan Live with Tim O'Reilly

article
Context Engineering: Bringing Engineering Discipline to Prompts—Part 2
article
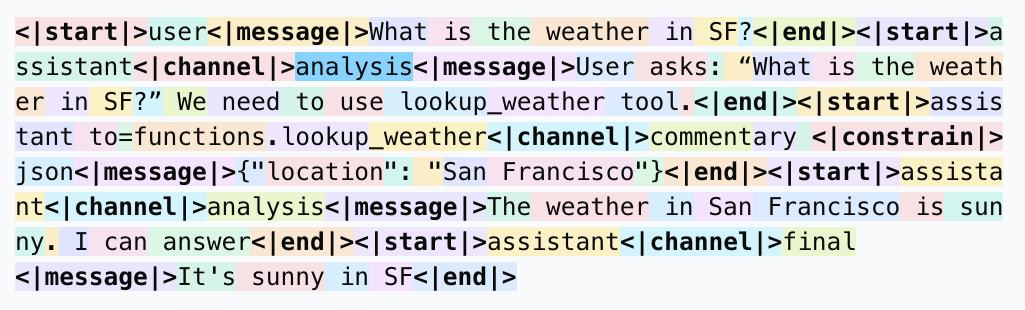
Chat Templates

article
People Work in Teams, AI Assistants in Silos

article
Taming the Delightful Chaos

article
The Abstractions, They Are A-Changing

article
AI’s Swiss Cheese

article
Context Engineering: Bringing Engineering Discipline to Prompts—Part 1

podcast
Generative AI in the Real World: Jay Alammar on Building AI for the Enterprise
0:00
/
0:00

article
The Future of Product Management Is AI-Native
video
Should Product Managers Use AI to Build Prototypes?—Marily Nika Live with Tim O'Reilly

article
What Ants Teach Us About AI Alignment

article